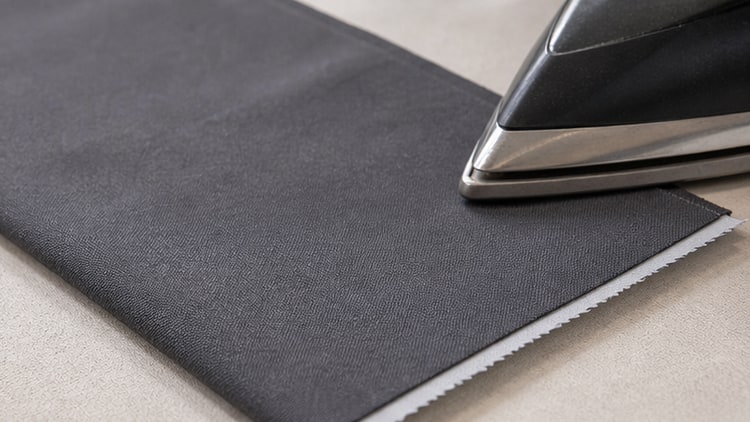
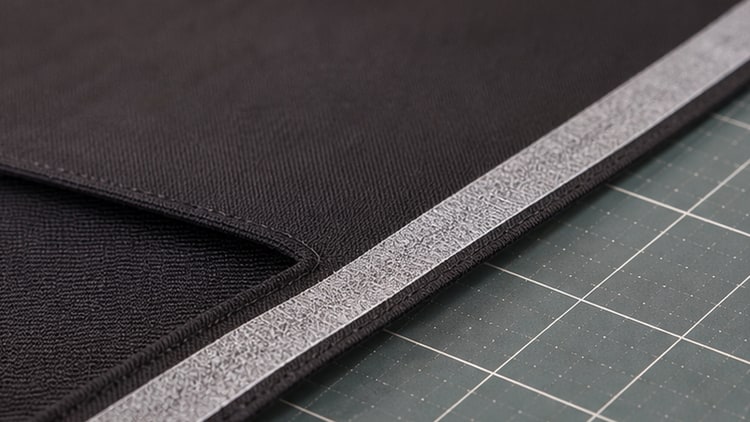
Using a straight-area tape without adjustment on a neckline, armhole or curved pocket edge can leave excess on the inner curve and tension on the outer curve, causing wrinkles or lifting. Final appearance depends on tape stretch, width, cut direction, feed tension and sewing sequence. Test the actual pattern curvature to confirm that the shell and tape move together.
Define curvature and reinforcement purpose first
A gentle curve and a tight radius require different conformability. Clarify whether the tape is intended to prevent stretch, stabilize a seam allowance or distribute seam bulk. Recording the tightest radius and finished seam length on the pattern makes tape width and construction easier to compare.
Match tape stretch direction with fabric grain
A tape with no lengthwise give can over-restrain a curved stretch fabric, while excessive stretch can reduce reinforcement. Check movement along warp, weft and bias directions, then position the tape according to shell grain and the recovery required in the finished garment.
Balance curve adaptation and support when choosing width
A wider tape provides more support but is more likely to wrinkle along the inside of a tight curve. A very narrow tape may wander away from the stitch line or provide too little reinforcement. Apply two or three widths to a sample marked with the finished line and seam allowance, then compare flatness and sewing margin.
Control feed tension and layer differential
If an operator stretches the tape during sewing or the feeder tension is high, the curve may contract after sewing. Excess tape can instead create a wavy lifted edge. Mark a reference length at the start and end, then adjust differential feed, presser-foot pressure and tape feed tension one variable at a time while measuring length change.
Review sewing sequence and stabilization time
An adhesive tape may shift if pulled immediately after application, while twist can accumulate when a sew-in tape is continuously stitched in one direction. Use the same reference points and direction on symmetrical parts, and allow adhesive tape to cool before the next operation. A garment tape supplier serving factories in Korea and Vietnam should provide the approved sample together with the operation sequence when equipment differs.
Practical checklist
- Mark the tightest curve, finished line and reinforcement purpose on the pattern.
- Compare tape stretch in both directions with shell grain behavior.
- Apply two or three candidate widths to the actual curved sample.
- Record tape feed tension, differential feed and presser-foot pressure.
- Inspect length change, wrinkles, lifting and symmetry after cooling and care.
Related products and consultation
For curved reinforcement, compare the width, construction and stretch direction of the garment tape with the actual shell fabric. For adhesive tape, also review press stability as with fusible interlining. Share pattern curvature and sewing conditions through contact.
FAQ
Is a narrow tape always better on a curved area?
A narrow width follows tight curves more easily, but it may lack reinforcement area or sewing margin. Compare candidates on the actual pattern while considering curvature, load and seam allowance.
Does stretching the tape during sewing improve stretch prevention?
Excessive tension can cause contraction and left-right length differences. Mark a reference length and repeat the approved tension and feed settings.