
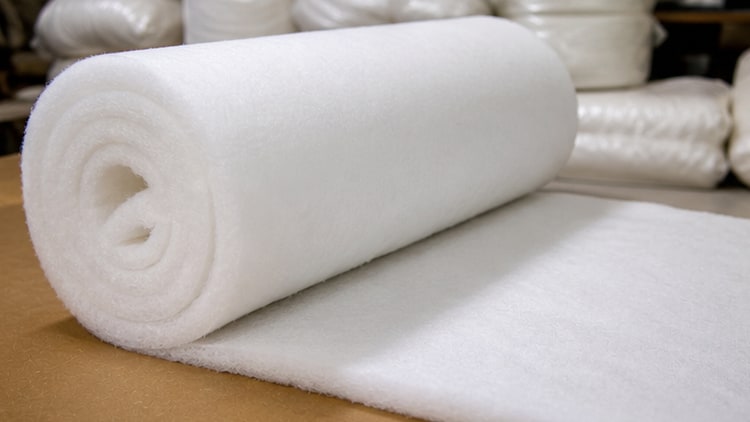
Fine fibers from garment padding may appear as white specks, fuzz or hair around seams on the shell or lining surface. The cause is often a combination of fiber fineness and bonding method, shell and lining density, needle-hole size and quilting conditions rather than the padding alone. Before bulk production, identify the migration path and test the complete assembly.
Distinguish surface migration from seam leakage
Fibers appearing across the full fabric surface suggest migration through the construction, while concentration along quilting or seam allowances points to needle holes or cut padding edges. Photograph location, fiber length, quantity and timing before and after wear or care. Identifying the path helps determine whether to address fabric density, the needle or padding-edge control first.
Review padding fiber and bonding structure
Padding with many fine short fibers or weak surface bonding can release more loose fibers during cutting and sewing. Compare fiber fineness, length distribution, surface stabilization and cut-edge condition in addition to weight and thickness. Fibers released after light rubbing or folding can provide a useful relative comparison among candidates.
Evaluate shell and lining construction together
Even a dense shell can open around stitching and create leakage paths, while an open lining may reveal fibers first on the inside. Place the padding between the actual shell and lining and inspect both light and dark color combinations. Air permeability and flexibility also help balance migration resistance with garment comfort.
Minimize needle size and select a suitable point
An oversized needle creates larger openings and can pull padding fibers to the surface during repeated stitching. Start with the smallest size suitable for the fabric and thread, and control point damage, heat buildup and replacement interval. After sewing, inspect hole recovery and any fibers wrapped around the thread under magnification.
Adjust stitch density, thread tension and quilting spacing
Very dense stitching can connect needle holes into a leakage path, while excessive thread tension can spread the shell construction. Quilting that is too widely spaced may allow internal movement and increase abrasion or fiber migration. Vary stitch density, tension and quilting spacing step by step on the actual pattern and compare leakage with shape stability.
Control cut edges and seam allowances
If a cut padding edge remains exposed or shifts close to the seam during sewing, loose fibers can reach needle holes more easily. Maintain cutting-blade condition and consider edge stabilization, a lightweight cover layer or a revised sewing sequence where appropriate. Any added control can change bulk and hand, so inspect layer steps on the approval sample.
Recheck leakage after wear, care and packing
A clean initial sample may still release fibers after repeated flexing, care cycles, drying or compression packing. Apply the target care count and realistic packing pressure, then compare the surface, seams and loose internal fibers under consistent lighting. Lightweight garments supplied to the GCC region should also validate the garment padding material assembly for transport compression and intended local care.
Practical checklist
- Record whether migration occurs across the fabric surface or around seams.
- Compare fiber fineness, length, surface bonding and cut-edge condition.
- Test the actual shell-padding-lining assembly in light and dark colors.
- Adjust needle size, stitch density, thread tension and quilting spacing step by step.
- Reinspect after wear movement, care, drying and compression packing.
Related products and consultation
Fiber migration should be assessed through the finished combination of garment padding material, lining fabric and shell. Areas needing seam stabilization can also be compared with a suitable garment tape. Share garment use, color, quilting structure, needle, thread and care conditions through contact with a textile materials supplier.
FAQ
Does a high-density shell prevent all padding fiber migration?
It usually reduces risk, but fibers may still escape through needle holes, cut edges in seam allowances or repeated abrasion. Verification should use a sewn and laundered assembly.
Should the smallest possible needle always be used to reduce leakage?
Use a smaller needle only within the range that can handle the fabric and thread without damage. An undersized needle may cause thread abrasion, breakage or unstable stitching, so sewing performance and leakage must be compared together.