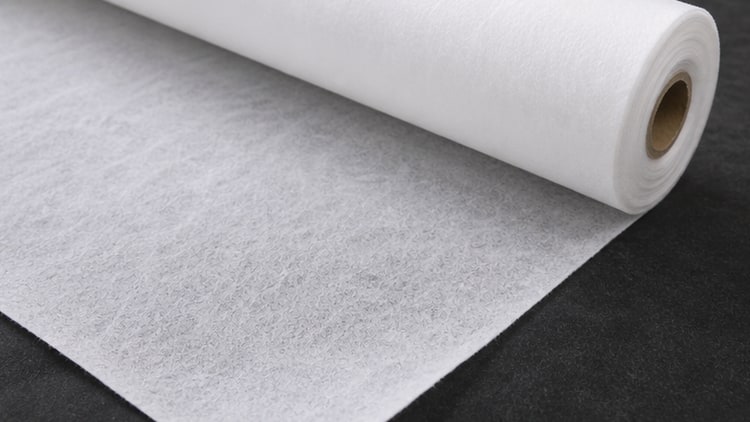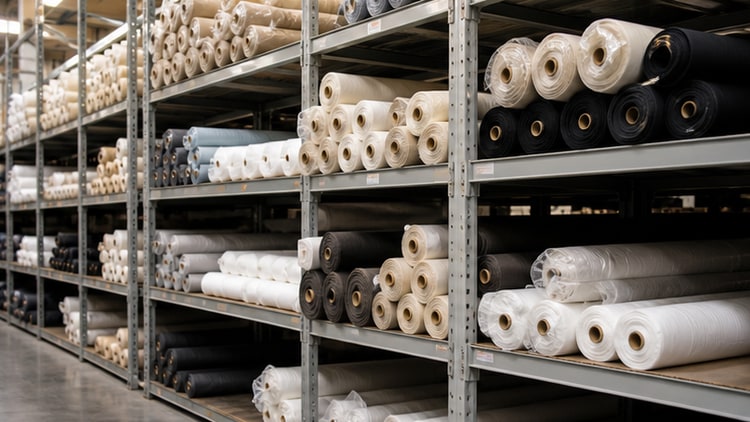
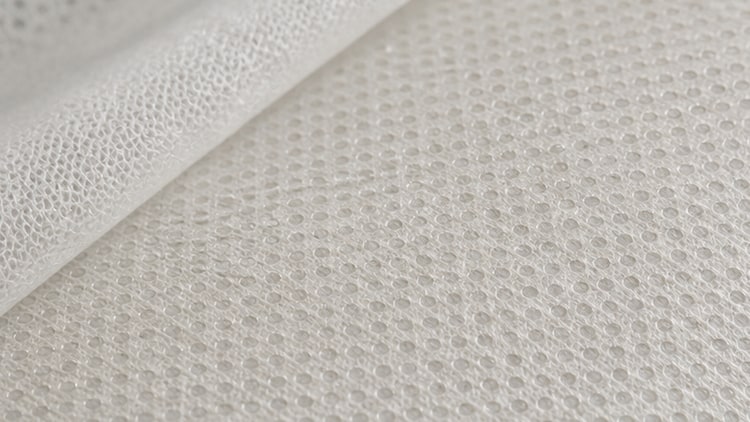
Fusible interlining performance depends not only on the base material but also on adhesive dot size, spacing and coating weight. Larger dots or heavier coating do not automatically provide a better bond. On lightweight or open shell constructions, adhesive may strike through to the face, while very fine dots may not create enough contact on heavy or textured fabrics. Candidate specifications should therefore be compared with the actual shell fabric and care conditions.
Treat dot size and coating weight as separate variables
Large dots with wide spacing may still have a low total coating weight, while densely placed fine dots may carry more adhesive. Do not judge by appearance alone; review both the dot pattern and coating weight per unit area in the supplier specification. Fuse several candidates to the same shell fabric and compare peel strength and surface change.
Prioritize strike-through checks on light and smooth shells
Light shirting, pale fabrics and smooth surfaces can reveal adhesive dots as visible marks. Begin with fine-dot, lower-coating candidates, but confirm that bond strength remains adequate. Inspect the face in natural and raking light, then record whether dot outlines appear when the fully cooled sample is flexed.
Review contact area on heavy or textured fabrics
On twill, herringbone or raised surfaces, fine dots may touch only part of the fiber structure and create uneven bonding. Review press pressure, shell compressibility and adhesive flow together rather than increasing dot size alone. Trying to compensate with excessive heat can cause sheen or shrinkage, so compare settings within the recommended range.
Balance bond strength with hand-feel change
A heavier coating can increase initial peel strength but may stiffen the assembly and reduce drape. Areas that require structure, such as collars and front panels, do not always need the same specification as softer moving areas. Define the target hand and minimum bond requirement by garment area, then screen candidates accordingly.
Re-evaluate the bond after washing and steaming
Candidates with similar initial bonds may behave differently after washing, dry cleaning or steaming because of adhesive type and coating structure. After the target care cycle, inspect edge lifting, local bubbles, hardening and adhesive movement. An apparel interlining supplier supporting a Korea and Vietnam textile material supply network can reduce process variation by sharing one test sequence and acceptance standard.
Practical checklist
- Record dot size, spacing and coating weight per unit area.
- Compare candidates on the same shell fabric under identical press settings.
- Check dot marks and adhesive strike-through in natural and raking light.
- Evaluate peel strength and flexing hand after full cooling.
- Recheck lifting, bubbling, hardening and adhesive movement after care.
Related products and consultation
Select the dot specification by reviewing the fusible interlining together with the actual shell construction. Nonwoven interlining and woven interlining can also be compared by base construction. Share the shell sample, application area and care method through contact.
FAQ
Do larger adhesive dots always create a stronger bond?
No. Dot spacing, total coating weight, shell surface and press settings work together, so peel strength and appearance must be compared on the actual material combination.
Is the lowest coating weight always safest for a light fabric?
It can reduce strike-through risk, but insufficient bonding may cause lifting after care. Select a specification that meets both appearance and minimum bond requirements.